Woocommerce Settings

WooCommerce (optional)

Note that page Theme Options > WooCommerce is optional and will appear only if you have WooCommerce plugin installed and activated. WooCommerce settings are divided into 3 tabs (fig. 1): Fig. 1. WooCommerce Settings. Product list Here you can: choose WooCommerce default layout: masonry or list, or masonry / list switcher ; decide where to show…

Fig. 1. Buttons Style.

Buttons

There are three predefined button styles (fig. 1): flat, 3D, shadow. Fig. 1. Buttons style. In this Theme Options tab, you can also specify: button idle and hover colors for background, text and border (fig. 2); Fig. 2. Button color settings. font family and font size, padding and border radius for 3 button sizes (small, medium and big).…

Fig. 1. Branding. Upload Logos.

Branding

On this page you can upload logos for different locations at your site, specify padding for these logos, set up copyright information, etc.: Note: Logos of different users comes in different size and ratio, so theme does not re size logos or do not prefer any specific size, you need to upload it in actual…

Fig. 1. Adding Share Buttons.

Share Buttons

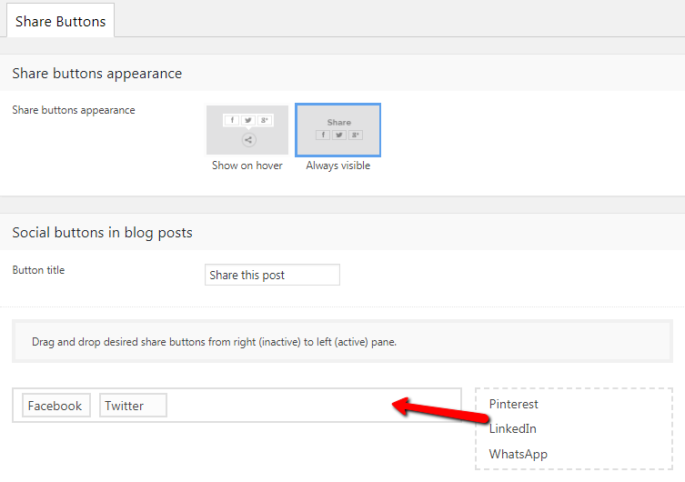
You can enable social like/share buttons for blog posts, pages, portfolio projects, media albums and WooCommerce products. To do so, simply drag required button(s) to wide filed on the left (fig. 1): Fig. 1. Adding share buttons. There is an option of ‘Share buttons appearance’ which allows to change the way people interact with social share…

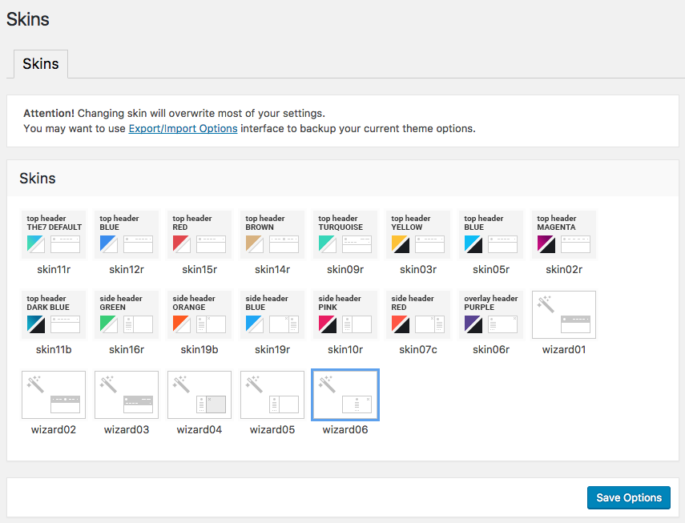
Fig. 1. Skins.

Skins

You can change look of your site in two clicks by applying one of predefined skins. Simply go to “WP-admin > Theme Options > Skins”, select desired skin and hit the “Save” button. Theme will apply all necessary settings and styles automatically. Your logos, favicon, widget areas, social links and contact information will be preserved.…

Fig. 1. Page Title Layout.

Page titles

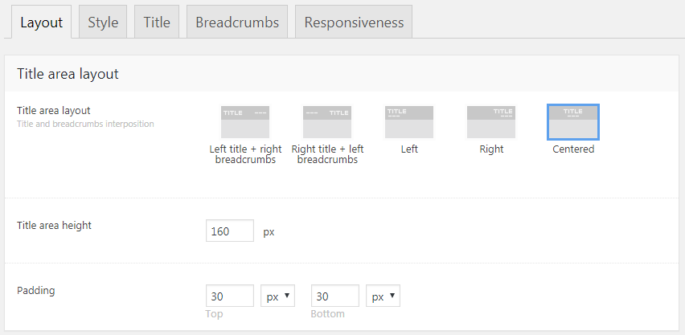
This Theme Options tab allows you to specify default settings for pages title area. Layout Fig. 1. Page title layout. Layout tab (fig. 1) allows to: select layout of page title area (title and breadcrumbs alignments); title area size (height and padding). Style Fig. 2. Page title style. This tab (fig. 2) allows to select page title…

Fig. 1. Footer Settings.

Footer & Bottom bar

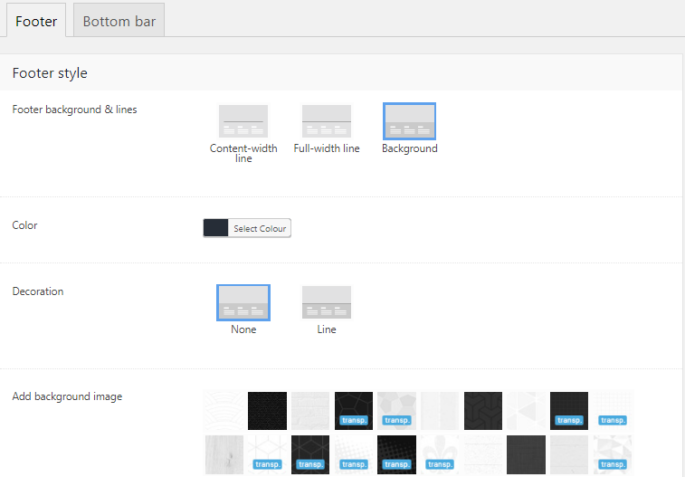
In Footer options (fig. 1.1), you can set: Fig. 1.1. Footer settings. background style: content-width line, full-width line, background; background color and image, decoration line; enable slide-out mode; text color; layout: padding, number of columns (fig. 1.2); Fig. 1.2. Footer layout settings. width to collapse the footer into a single column (fig. 1.2). In Bottom…

Fig. 1. Theme Options Menu.

Theme Options

You can find Theme Options menu in the top panel in WP Dashboard (fig. 1): Fig. 1. Theme Options menu. You can also enable side Theme Options menu in Dashboard -> The7 -> My The7 -> Settings -> Legacy Features -> Show theme options in sidebar. There are two modes of Theme Options editing: front-end editor…

Fig. 1.1. Image Styling: None.

Image Styling and Hovers

Here you can select image hovers styling, background color and opacity. Depending on “Styling” settings, images will look this way: None Fig. 1.1. Image Styling: None. Grayscale Fig. 1.2. Image Styling: Grayscale. Grayscale with color hovers Fig. 1.3. Image Styling: Grayscale with color hovers. Note: the styling setting may not have effect on some portfolio, photo…

Wizrd

Wizard

The7 Design Wizard simplifies the process of theme configuring: choose header layout, upload your logo and set up background, fonts and accent colour. The7 will intelligently calculate the best values for advanced options available in the theme. Wizard works in two modes: it allows to “Customize Existing Design” (Only if have configured theme options already) or “Start From a Scratch” (fig.…