Besides three main custom post types (“Slideshows”, “Media Albums” and “Portfolio”), there are four additional ones: “Benefits”, “Team”, “Testimonials” and “Partners, Clients, etc.”. Two of them – “Benefits” and “Partners, Clients” – are a legacy feature and are deactivated by default in The7 -> My The7. The reason is simple – such elements can be easily built with help of WPBakery builder.
These post types are based on the same principals as the main ones, but are simpler. Make sure that you are accustomed with “Slideshows“, “Media Albums” and “Portfolio” before embarking additional post types.
Team
Team members can be added via “WP-admin > Team > Add new” interface.
Insert team member details:
- name into a Title field;
- info about the team member into Text Editor (WYSIWYG);
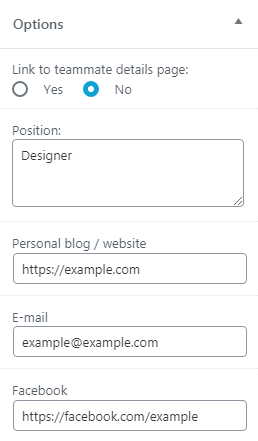
- member’s position into “Options” box (fig. 1.2) “Position” field;
- link to social profiles into corresponding fields in “Options” box;
- if required, set photo of a member as a featured image.
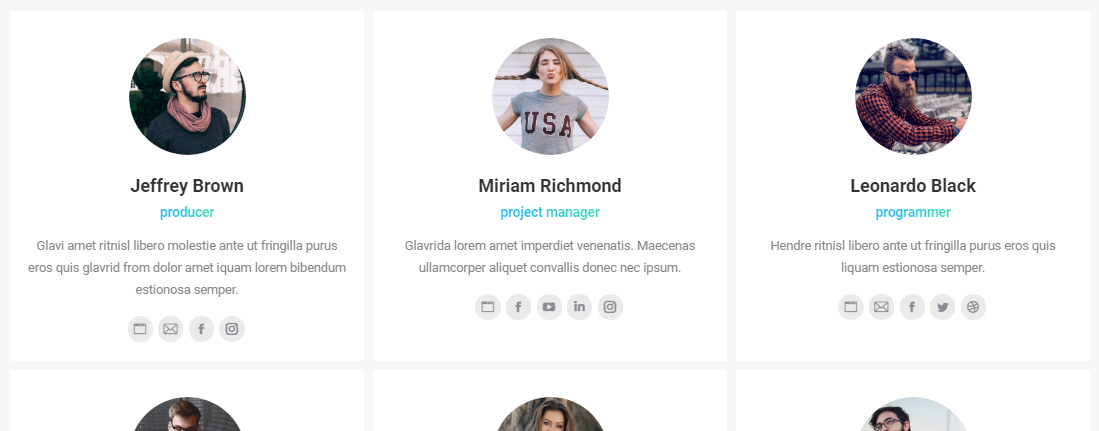
You can also decide whether to allow a visitor to view a single Team member page on click – use option “Link to teammate details page: Yes/No”.
You can display Team members by:
- adding “Team” WPBakery Page Builder shortcode to page content;
- assigning “Team” template to a page;
- using “DT-Team” widget.
Testimonials
Testimony can be added via “WP-admin > Testimonials > Add new” interface.
Insert testimony details:
- author name into a Title field;
- content into Text Editor (WYSIWYG);
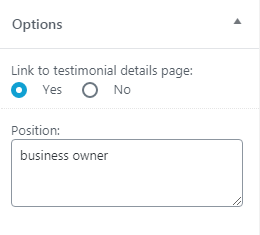
- author info into “Options” box > “Position” (fig. 2.2);
- if required, set author photo as a featured image.
You can display testimonials by:
- adding “Testimonials Masonry & Grid” and “Testimonials Carousel” WPBakery Page Builder shortcode to page content;
- assigning “Testimonials” template to a page;
- using “DT-Testimonials slider” or “DT-Testimonials list” widget.
Partners, Clients, etc.
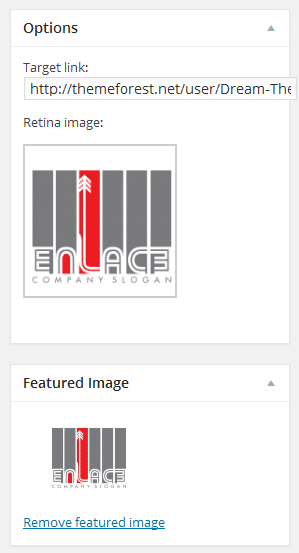
This post type is ideal for displaying logos (fig. 3.1) of your clients, partners, affiliates, etc.
You can add separate logos via “WP-admin > Partners, Clients, etc. > Add New” interface. Note that, in addition to a regular-sized logo (featured image), you can upload its high-res (retina) version. Logo becomes clickable if you fill the “Target link” field (see fig. 3.2).
“Partners, Clients, etc.” can be displayed via “DT-Partners & clients” widget and “Clients” WPBakery Page Builder shortcode.
Benefits
Benefit post can be added via “WP admin > Benefits > Add new” interface. Fill-in the following fields:
- title
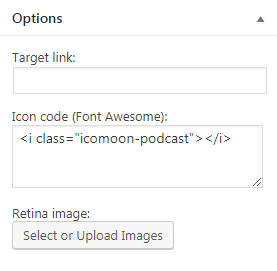
- icon: you can use Icons Manager code in the “Options” box (fig. 4.2) OR simply set featured image (you can also upload high-res (retina) icon in “Options” box);
- external link [optionally] in “Options” box > “Target link”.
Benefits can be displayed with help of the same-named WPBakery Page Builder shortcode
