Registration
First section of The7 Dashboard represents registration tab (fig.1), which also includes links to bundled plugins installation, demo content import, etc.
System Status
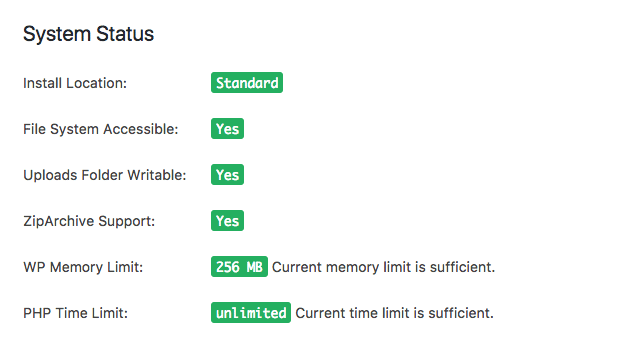
The next section is System Status (fig. 2). In case of any problems with the web-site, it may point out the most widespread issues like wrong install location (the theme is stored in a folder different from /dt-the7/), lack of server memory, unavailable ZIP module (when server is not able to unpack ZIP archives), etc.
Settings
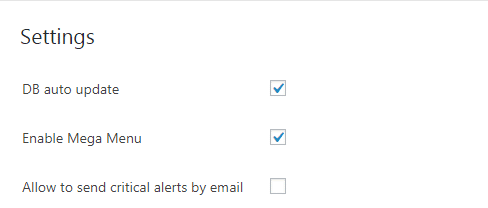
The biggest section is “Settings” tab, which is divided into three subsections. It starts with general settings (fig. 3), which allow to:
- run database automatically after theme update;
- enable Mega Menu features;
- send critical alerts to admin’s email.
Legacy Features
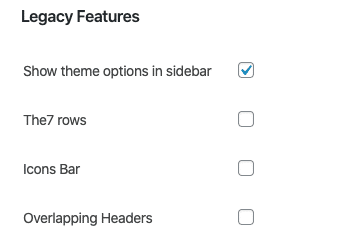
It contains check-boxes (fig. 4) for such old The7 features as:
- displaying Theme Options in Dashboard side menu;
- “The7 row” – enable a bunch of old settings for a row in WPBakery Page Builder;
- displaying an icon picker in Dashboard topbar menu;
- enabling “Overlapping Headers” layout in Page Header settings;
- support of old version of FontAwesome icon font in case you use icons from FontAwesome ver.4 across the website.
So, if you are new to The7 theme, just disregard this section. If you are old The7 fan and wonder where Overlapping header is gone, these check-boxes are made for you.
The7 Post Types and Elements
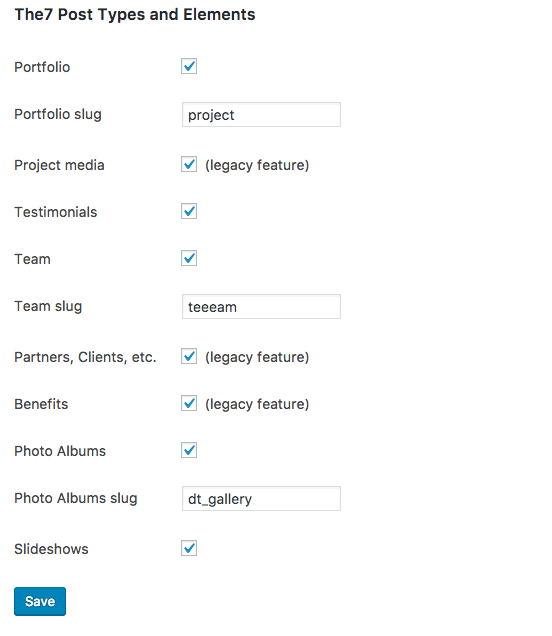
This section is available only if you are using The7 custom post types (fig. 5) from The7 Elements plugin. It allows to disable post types you don’t need and, in result, make WP Dashboard work a little bit faster.
Bonus
If there is something wrong with your copy of the theme, you may want to re-install it. The simplest way is to use The7 Re-installer plugin. When this plugin is active, you can find appropriate button (fig. 6) in the bottom of the screen. Just make a click!


